Freezer Burn Prevention for Keto-Paleo Meals
Freezer Burn Prevention: Keep Your Keto-Paleo Meals Actually Fresh
There is nothing quite as defeating as opening your freezer on a Wednesday night, excited about that beautiful batch of grass-fed beef stew you made on Sunday, only to find it covered in grey, icy crystals. Freezer burn prevention is honestly one of the most underrated skills in the entire keto-paleo meal prep world. And I say that as someone who has thrown away more ruined food than I care to admit. Let’s fix that together, starting right now.
Why Freezer Burn Hits Keto-Paleo Foods So Hard
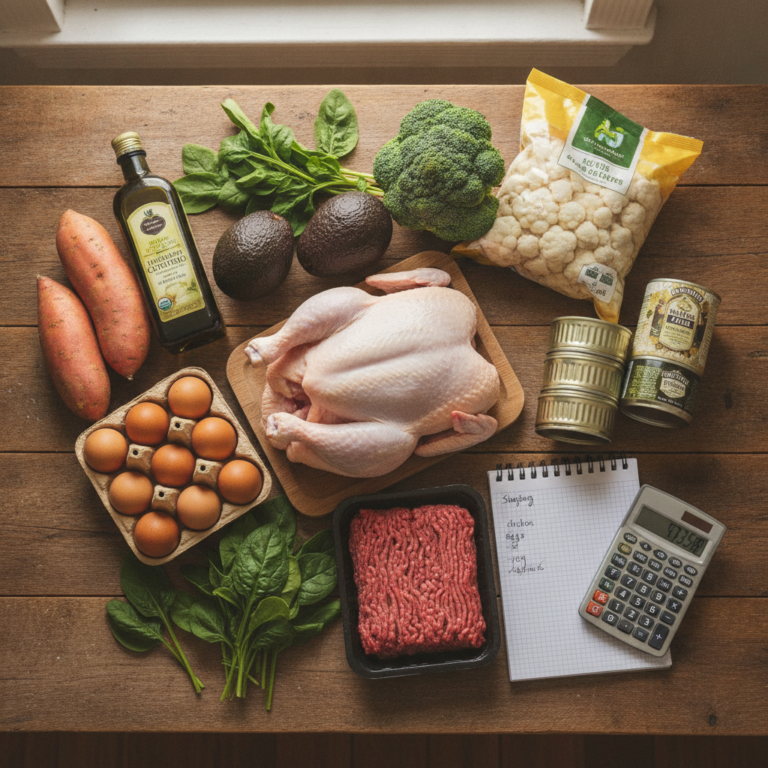
Keto and paleo meals are built around high-quality proteins, healthy fats, and fresh vegetables. Unfortunately, those same beautiful ingredients are especially vulnerable to freezer damage. Fat oxidizes. Lean proteins dry out. Roasted vegetables turn into sad, watery lumps.
Freezer burn happens when moisture escapes from your food and forms ice crystals on the surface. It is not a safety issue — the food is still safe to eat — but the texture and flavor take a serious hit. And when you have spent real money on quality ingredients, that stings.
The good news? Most freezer burn is completely preventable. You just need the right approach from the start.
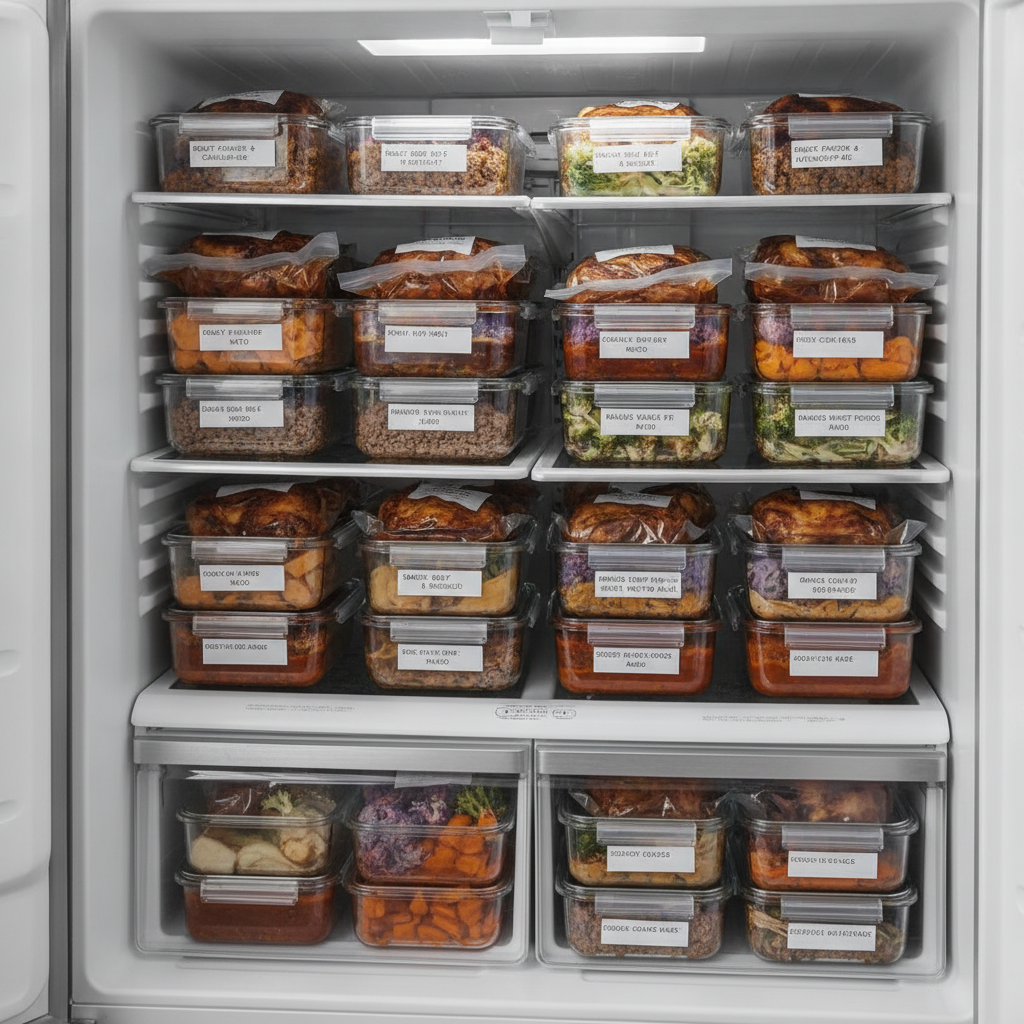
The Container Question: Glass vs. Plastic vs. Bags
I have tested them all, and here is the honest truth: no single container wins every situation. The right choice depends on what you are storing.
Glass Containers
Glass is my go-to for soups, stews, and sauces. It seals tightly, does not absorb odors, and goes straight from freezer to oven without any fuss. Just remember to leave at least an inch of headspace. Liquids expand when frozen, and a cracked jar is its own kind of disaster.
Heavy-Duty Freezer Bags
For proteins — think marinated chicken thighs, ground beef, or pork shoulder — heavy-duty freezer bags are unbeatable. The key is removing as much air as possible before sealing. Press the bag flat, squeeze from the bottom up, and seal quickly. Lay the bags flat in the freezer so they stack neatly and freeze evenly.
Vacuum-Seal Bags
If you are serious about freezer burn prevention, a vacuum sealer is genuinely worth considering. It removes almost all the air, which is the main enemy here. Vacuum-sealed salmon fillets, steak cuts, and cooked shredded meats can last up to three months with almost zero quality loss. I resisted buying one for years. I wish I had not waited so long.
Plastic Containers
Standard plastic containers work, but they tend to hold onto odors and can warp slightly over time. If you use them, go for freezer-safe ones with tight snap lids. Avoid reusing thin takeout containers — they are not designed for long-term cold storage.
Wrapping Techniques That Actually Work
The container is only half the battle. How you wrap your food matters just as much. This is especially true for large cuts of meat or formed items like burger patties and meatballs.
The double-wrap method is my personal gold standard. Wrap the food tightly in plastic wrap or butcher paper first, pressing it close to the surface to eliminate air pockets. Then place it inside a freezer bag or a second layer of foil. Two barriers are significantly better than one.
For individual items like burger patties or keto fat bombs, flash-freeze them first. Lay them out on a parchment-lined baking sheet and freeze for about an hour until firm. Then transfer them to a bag. This prevents them from sticking together and makes portioning a breeze later.
If you are batch cooking for the week — something I talk about in detail over in the Athlete-Approved Batch Cooking post — proper wrapping before freezing is honestly what separates a good batch session from a great one.
Timing Tricks: Cool Fast, Freeze Faster
Here is a mistake I made constantly in my early meal prep days: putting warm food straight into the freezer. It seems harmless, but warm food raises the freezer temperature, creates condensation inside the container, and leads directly to those dreaded ice crystals.
Always cool food completely before freezing. For soups and stews, I set the pot in an ice bath in the sink and stir until it drops to room temperature. For solid foods, spread them on a sheet pan to cool faster. The goal is to get food into the freezer cold and quickly.
Once food is cold, freeze it fast. Set your freezer to 0°F (-18°C) or below. Place new items against the freezer walls or on metal shelves rather than on top of other frozen items — metal conducts cold better and speeds up the initial freeze.
Labeling: The Step Nobody Wants to Skip
I know. You are tired, the kitchen is a mess, and labeling feels like extra work. But future you will be genuinely grateful. Write the contents, the date, and the portion size on every single container. Use freezer tape and a permanent marker — regular labels fall off in the cold.
As a general guide for keto-paleo foods:
- Cooked meats and stews: 3 to 4 months
- Raw proteins (vacuum sealed): up to 3 months
- Roasted vegetables: 2 to 3 months
- Sauces and broths: 4 to 6 months
- Fat bombs and keto desserts: 2 to 3 months
If you are planning a full two-week rotation, the Two-Week Keto-Paleo Rotation post has a solid framework for cycling through your frozen meals without anything getting forgotten at the back of the freezer.
Foods That Freeze Beautifully (and a Few That Don’t)
Not everything is worth freezing, and knowing the difference saves a lot of heartache.
Freezer-Friendly Keto-Paleo Stars
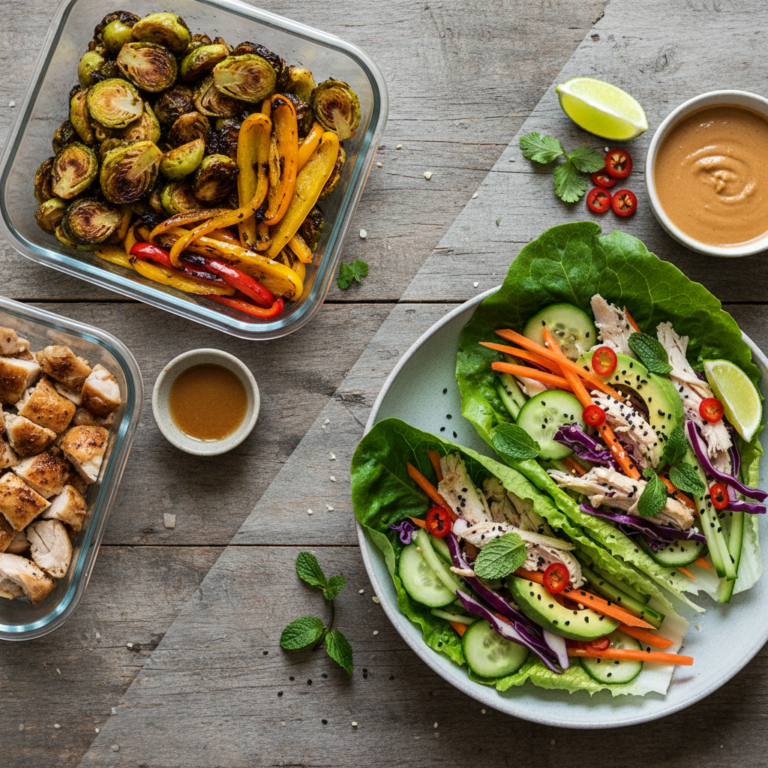
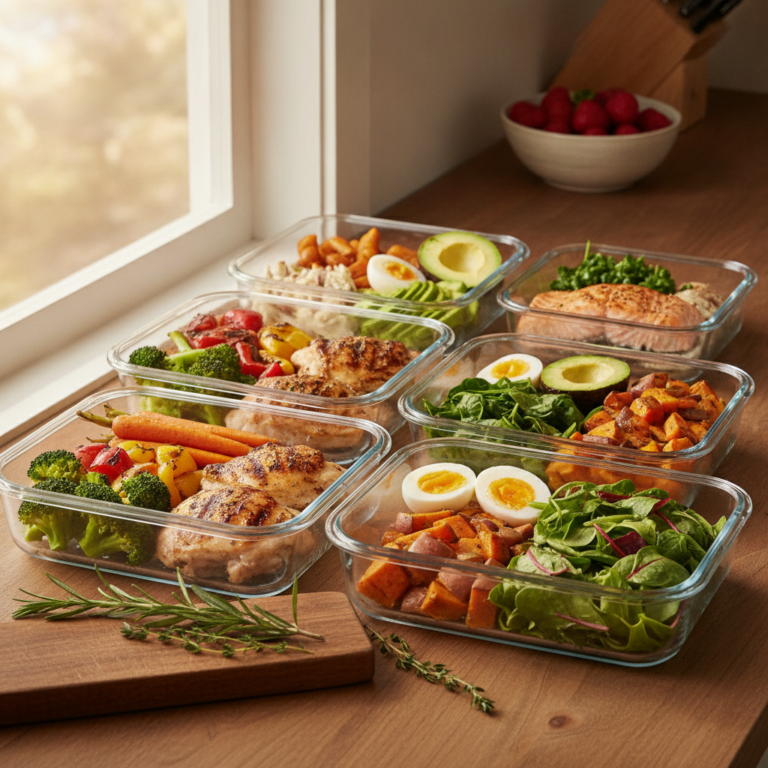
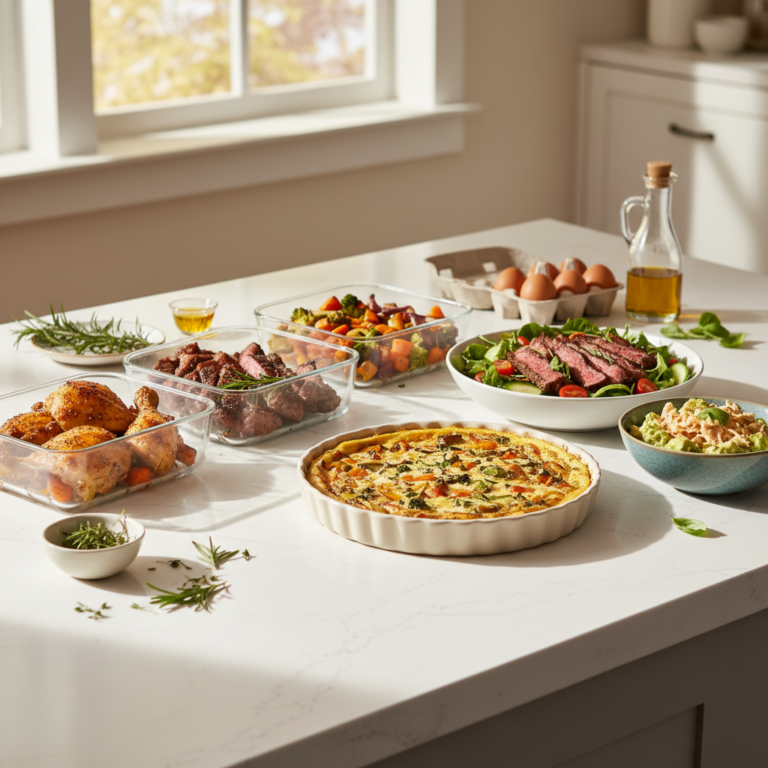
Bone broth freezes like a dream — make big batches and freeze in silicone ice cube trays for easy portioning. Braised meats like pulled pork, short ribs, and lamb shoulder actually improve after freezing because the connective tissue breaks down further during the slow thaw. Meatballs, burger patties, and protein-packed sauces are all excellent candidates too.
Foods to Eat Fresh
Leafy greens, cucumber, and avocado do not freeze well at all. Neither do egg-based dishes like frittatas or deviled eggs — the texture becomes rubbery and watery after thawing. If your meal plan leans heavily on these, keep them in your fresh rotation rather than your freezer stash.
When you are planning which meals to prep and which to make fresh, the 30-Minute Batch-Cook Blueprint is a fantastic starting point for building a system that works around your real life.
Thawing the Right Way
Good freezer burn prevention does not stop at the freezer. How you thaw your food matters too. The safest and best method is overnight in the refrigerator. It keeps the temperature controlled and protects the texture of your proteins and fats.
Avoid thawing on the counter — it encourages bacterial growth in the outer layers while the center is still frozen. For soups and stews in a pinch, thaw directly in a covered pot over low heat, adding a splash of broth or water to help it along.
A Quick Checklist Before You Freeze Anything
Let me leave you with the five-second mental checklist I run through before anything goes into my freezer:
- Is it completely cooled?
- Is the air removed as much as possible?
- Is it double-wrapped or in an airtight container?
- Is it labeled with contents and date?
- Will it freeze within an appropriate timeframe?
That is genuinely it. Freezer burn prevention does not require fancy equipment or complicated systems. It requires consistency with a few simple habits, and the payoff is enormous — meals that taste as good on day sixty as they did when you made them.
Your keto-paleo meal prep is worth protecting. You put real thought, real ingredients, and real time into building a way of eating that makes you feel good. A little extra care at the freezer door keeps all of that effort working for you, not against you.
Now go label those containers. You will thank yourself later, I promise.