Crispy Keto Chicken Thighs with Garlic Herb Butter
Crispy Keto Chicken Thighs with Garlic Herb Butter
If you crave shatteringly crispy skin and juicy meat—without flour, sugar, or complicated steps—these crispy keto chicken thighs are your new weeknight hero. We’ll nail that golden, crackly skin using simple skin-drying tricks, then finish with a lush garlic herb butter that melts into every nook. Prefer a skillet sear? Love a hands-off oven bake? I’ll walk you through both methods, with exact timing, temperatures, and foolproof tips for maximum crunch on a healthy keto lifestyle.
This recipe is low-carb, gluten-free, and easy to tweak for dairy-free eaters. I’ve included a clear macro breakdown, meal-prep guidance, and practical troubleshooting so you can get it perfect the first time.
Ingredients + Smart Swaps
- 6 bone-in, skin-on chicken thighs (about 2.5 lb / 1.1 kg)
- 1 to 1.5 tsp kosher salt (start with 1 tsp if using Morton; up to 1.5 tsp with Diamond Crystal)
- 1 tsp aluminum-free baking powder (optional, helps extra-crisp skin)
- 1 tsp garlic powder
- 1/2 tsp freshly ground black pepper
- 1/2 tsp smoked paprika (optional)
- 1 tbsp avocado oil or light olive oil (for skillet searing; not needed for rack-baking)
Garlic Herb Butter
- 4 tbsp unsalted butter, softened
- 2 cloves garlic, finely minced
- 1 tbsp fresh parsley, chopped
- 1 tsp fresh thyme or rosemary, chopped
- 1/4 tsp lemon zest
- Pinch red pepper flakes (optional)
- Pinch of salt to taste
Dairy-Free Options
- Use 4 tbsp dairy-free butter, or 3 tbsp extra-virgin olive oil + 1 tbsp beef tallow or refined coconut oil for a rich, butter-like finish.
- If you use ghee: it’s clarified butter and may contain traces of dairy proteins. For strict dairy-free, choose the olive oil blend or a dairy-free butter.
Drying & Seasoning for Ultra-Crisp Skin
The crisp factor comes from dry skin + high heat. Moisture is the enemy. Here’s how to win:
- Pat Dry Thoroughly: Use paper towels to dry the top and underside. Gently lift the skin and blot underneath if possible.
- Air-Dry in the Fridge (Best): Place thighs on a wire rack set over a rimmed baking sheet, skin side up. Refrigerate uncovered 8–24 hours. This low-effort step dramatically improves crispiness.
- Quick Dry (Same-Day): Pat dry well, then let sit uncovered at room temp 30–60 minutes to let surface moisture evaporate. A small fan aimed over the tray speeds things up.
- Seasoning Mix: In a small bowl, combine salt, baking powder (optional), garlic powder, pepper, and smoked paprika. The baking powder raises pH and encourages browning for a bubbly, crackly crust.
- Apply Evenly: Sprinkle the seasoning on both sides, focusing on the skin. If you air-dried overnight, season just before cooking.
Tip: For a light dry brine, you can salt the chicken (without baking powder) 12–24 hours ahead, then add the remaining spices just before cooking. Dry brining boosts flavor and tenderness.
Choose Your Method: Oven-Baked or Pan-to-Oven
Both methods deliver crispy, juicy chicken thighs. Pick the one that fits your schedule and tools.
Method 1: Oven-Baked (Easy, Hands-Off)
- Preheat: Set the oven to 425°F (220°C). Position the rack in the middle.
- Set Up the Pan: Line a rimmed baking sheet with foil for easy cleanup and set a wire rack on top. The rack circulates heat and keeps the skin crisp.
- Arrange: Place the seasoned thighs skin side up, spaced so they’re not touching.
- Bake: Roast 35–45 minutes, depending on size, until the skin is deep golden and the thighs reach 175–195°F (79–90°C). While 165°F is safe, thighs taste juicier and more tender when cooked a bit higher to render the connective tissue.
- Optional Broil: For extra crackle, broil 1–3 minutes, watching closely to prevent burning.
- Rest: Let rest 5–10 minutes before finishing with garlic herb butter.
Timing guide: Small thighs may be done around 35 minutes; large ones can take 45 minutes or a touch longer. Always verify with an instant-read thermometer inserted near the bone (without touching it).
Method 2: Pan-to-Oven (Restaurant-Style Extra Crisp)
- Preheat: Heat the oven to 400°F (205°C). Lower than the oven-only method to prevent burning after the sear.
- Preheat the Skillet: Place a dry cast-iron or stainless-steel skillet over medium heat. After 2–3 minutes, add 1 tbsp avocado oil or light olive oil.
- Sear Skin Side Down: Add the thighs, skin side down. Cook 7–9 minutes without moving until the skin is deep golden and much of the fat has rendered. Control heat to keep the sizzle steady without smoke.
- Flip Briefly: Flip and sear the flesh side 2–3 minutes.
- Finish in Oven: Transfer the skillet to the oven and cook 10–15 minutes, until the thighs reach 175–195°F.
- Rest: Remove and rest 5–10 minutes before serving.
Pro tip: If fat pools while searing, carefully spoon some into a heatproof bowl to prevent smoking. Save it for roasting veggies or frying eggs—liquid gold for low-carb cooking.
Make the Garlic Herb Butter (and Dairy-Free)
- In a small bowl, mash together softened butter, minced garlic, parsley, thyme or rosemary, lemon zest, red pepper flakes, and a pinch of salt.
- Taste and adjust salt or herbs. If you want a brighter finish, add a squeeze of lemon juice at the table instead of in the butter.
- To serve: Dollop 1–2 tsp over each hot thigh while resting so it melts into the crispy skin. Alternatively, gently lift the skin and smear underneath during the last 5 minutes of cooking for infused flavor.
Dairy-free version: Whisk 3 tbsp extra-virgin olive oil with 1 tbsp beef tallow or refined coconut oil, garlic, herbs, zest, and salt. Spoon over just before serving. It delivers the same fragrant, silky finish with zero dairy.
Macros & Nutrition + Meal Prep & Reheating
These crispy keto chicken thighs are naturally low-carb and high in satiating protein and fat—perfect for a keto dinner or meal prep.
Approximate macros per serving (1 thigh + ~2 tsp herb butter):
- Calories: ~310
- Fat: ~27 g
- Protein: ~21 g
- Total Carbs: ~0.5 g
- Net Carbs: ~0.5 g
Notes: Macros vary based on thigh size, rendered fat, and how much butter you use. Two thighs would roughly double the numbers. If you use the dairy-free olive oil blend, expect a similar calorie count with slightly less saturated fat.
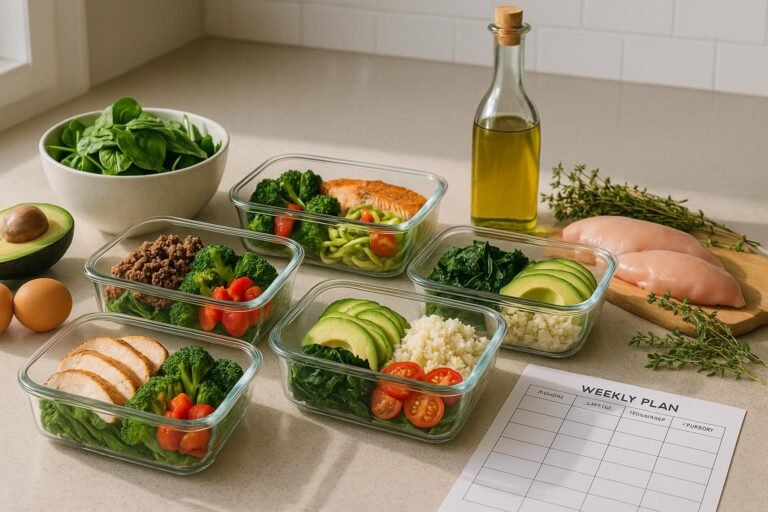
Meal prep:
- Make ahead: Season and air-dry the thighs on a rack in the fridge up to 24 hours before cooking for superior crispness.
- Batch cook: Use two racks so thighs don’t touch; rotate the pans halfway.
- Storage: Refrigerate cooked thighs in an airtight container up to 4 days, or freeze up to 3 months. Store the garlic herb butter separately.
Reheating for crisp skin:
- Oven: 400°F (200°C) for 10–12 minutes on a rack.
- Air fryer: 375°F (190°C) for 6–8 minutes.
- Skillet: Medium heat, skin side down 4–6 minutes until re-crisped.
- Avoid microwaving if you want that crackly skin.
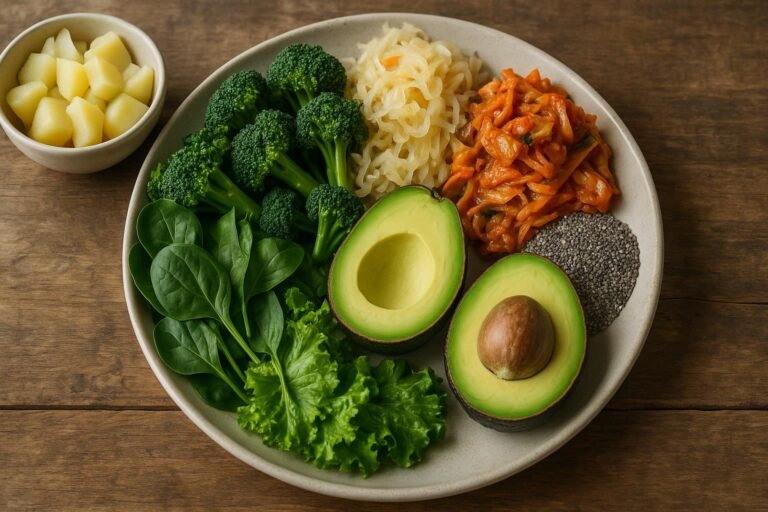
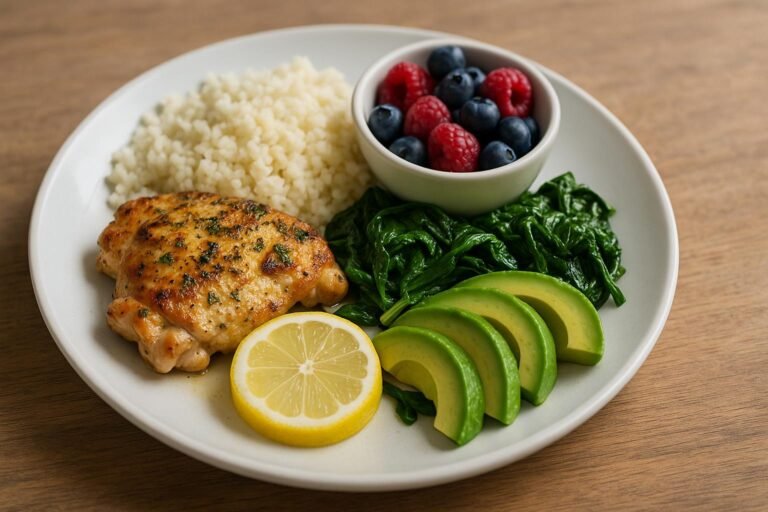
Serving ideas (low-carb sides): Garlic butter green beans, lemony roasted broccoli, creamed spinach, simple arugula salad with olive oil and vinegar, or roasted cauliflower tossed in the pan drippings.
Troubleshooting & Pro Tips
- Skin not crisp? The chicken wasn’t dry enough, the oven wasn’t hot enough, or the pan was overcrowded. Dry thoroughly, use a rack, and leave space between pieces.
- Excess smoke? Trim overhanging skin, use a high-smoke oil (avocado oil), and pour off excess rendered fat mid-sear.
- Meat seems tough at 165°F? Thighs become more tender around 175–195°F as collagen breaks down.
- Uneven browning? Rotate the pan halfway and use the top-middle rack. If one side of your oven runs hot, face the skinniest pieces that way.
- No wire rack? Crumple foil into ridges under the thighs to elevate them, or preheat the sheet pan so the bottoms start sizzling on contact.
Key Takeaways
- Dry the skin (ideally air-dry 8–24 hours) for the crispiest, low-carb chicken thighs.
- Choose oven-baked for hands-off convenience or pan-to-oven for maximum crackle.
- Cook thighs to 175–195°F for juicy, pull-apart tender meat and better fat rendering.
- Finish with garlic herb butter or a dairy-free olive oil blend for big flavor and keto-friendly fats.
- Reheat on a rack at high heat to keep the skin crisp for meal prep wins.
Conclusion
With a few smart techniques—dry skin, high heat, and a simple herb butter finish—you can make weeknight-friendly, ultra-crispy keto chicken thighs that taste like a restaurant treat. Whether you go oven-baked or pan-to-oven, you’ll get golden skin, succulent meat, and macros that fit your healthy keto lifestyle. Make a double batch; future you will be very happy.